Thursday, February 23, 2017

8/52

A portrait of my child once a week, every week for a year. Seen through my eyes.
 
Alex: Plays the role of big sister very well.
Juna: Has so much to learn from her big sister.

Sunday, February 19, 2017

7/52


A portrait of my child once a week, every week for a year. Seen through my eyes.
Alex: She loves to be in charge and to keep Juna entertained when I am busy doing chores around the house.
Juna: Needs a haircut.

Sunday, February 12, 2017

6/52

A portrait of my child once a week, every week for a year. Seen through my eyes.
Alex: Before I go to bed I tuck her in... every night it is a different scene of her creatures with a different stack of books. 
Juna: This child. I want to eat her up, she is so happy!

Sunday, February 5, 2017

5/52


A portrait of my child once a week, every week for a year. Seen through my eyes.


Alex: Whenever I turn around. This. 


Juna: Seriously, always smiling.

Tuesday, January 31, 2017

Ninja Turtle Muffins


Ingredients
Dry ingredients:
  • 2 cup – flour, whole wheat or gluten free flour
  • 1 1/2 teaspoon – cinnamon
  • 2 teaspoon – baking powder
  • 1/2 teaspoon – baking soda
  • 1/4 teaspoon – himilayan sea salt
Wet ingredients:
  • 3/4 cup – almond milk
  • 1/2 cup – honey
  • 1 large – banana
  • 6 ounce – spinach
  • 1/2 cup – olive oil
  • 1 cup apple sauce
  • 1 teaspoon – vanilla extract
Instructions
  1. Preheat oven to 350 F, and line a muffin pan with paper liners (or use silicone muffin cups sprayed with cooking spray).
  2. Combine all dry ingredients in a large mixing bowl.
  3. Blend the wet ingredients in a blender or food processor until completely pureed.
  4. Pour the puree into the dry ingredient bowl, and fold together gently until just combined. (Do not over-mix.)
  5. Spoon the batter into the muffin pan, and bake for 18-22 minutes, or until the muffins are firm to the touch on top, but not quite browning.
  6. Cool most or all of the way before serving.

Recipe adapted from Super Healthy Kids.

Sunday, January 29, 2017

4/52


A portrait of my child once a week, every week for a year. Seen through my eyes.
Alex: Such a big girl. Big sister. Big helper. Big girl.
Juna: Eat, sleep , poop. Repeat.  Barely fits in her bassinet. 

Sunday, January 22, 2017

Savory Waffle


Ingredients
2 eggs
1 cup frozen or fresh spinach
2 Tablespoons of fresh grated Parmesan cheese
¼ cup gluten free flour blend
½ teaspoon oregano
¼ teaspoon of Himalayan sea salt

*I added a couple pinches of paprika and some ground pepper to mine but if serving to the family I would omit that!

Instructions
1.     Pre-heat waffle iron.
2.     Scramble eggs together in separate bowl.
3.     If using frozen spinach warm spightly in microwave about 40 secs.
4.     In another bowl add all other ingredients.
5.     Add eggs and spinach to dry ingredients mixing constantly until all combined.
6.     Grease waffle iron with a little olive oil.
7.     Cook til perfection!

This recipe has been broken down to a single serving for those following the 21 day fix program. Containers would include one green, one yellow, ½ blue, and one red. Enjoy!

Saturday, January 21, 2017

3/52

A portrait of my child once a week, every week for a year. Seen through my eyes.

 Alex: Is it normal that she is phonetically sounding out words, AT 4!

Juna: Happiest when wet!

Sunday, January 15, 2017

2/52


A portrait of my child once a week, every week for a year. Seen through my eyes.
Alex: Mother of dragons, even though she calls herself daddy dragon.
Juna:  Rolls and toes, toes and rolls.

Saturday, January 14, 2017

Healthier Chocolate Chip cookies

I am amidst my 21 day challenge and since I just started after a long month of Christmas cookie eating I am still craving chocolate and sweet. Alex decided to put on her new apron (birthday present) and I decided to look up a new recipe. We made 21 day fix friendly chocolate chip (healthier) cookies inspired by Chelsea's Messy Apron.
 
Ingredients
  • 3/4 cup oat flour regular (oats blended in a blender)
  • 1/2 cup old-fashioned oats  
  • 3/4 teaspoon baking soda
  • 1 teaspoon cinnamon
  • Pinch of Himalayan sea salt
  • 1 ½  teaspoons vanilla extract
  • 1 large egg
  • 4 tablespoons brown sugar lightly packed
  • 1/2 cup coconut oil
  • 1/2 cup dark chocolate chips
Instructions
  1. Take regular old fashioned oats or quick oats and blend them until they resemble a flour or powder in a blender or food processor.
  2. If you don't have quick oats, pulse old fashioned oats a few times in a blender or food processor until they resemble quick oats.
  3. In a medium-sized bowl, stir together the oat flour (measured after blending NOT before), old-fashioned oats, baking soda, cinnamon, and salt.
  4. In another bowl, stir together the vanilla extract, large egg, and brown sugar. Melt the coconut oil and let it cool slightly before adding to the bowl (Make sure to measure the coconut oil in it's liquid state). Stir until well combined.
  5. Add the dry ingredients to the wet ingredients and stir until just combined. Fold in the dark chocolate chips.
  6. Cover the dough tightly and chill the dough for 30 minutes to an hour or until the dough has hardened enough to scoop out cookie balls. (If you chill longer than a day, let the dough sit out for 15 or so minutes so you are able to scoop it into balls). If you don't chill your dough these cookies will be flatter than a pancake! The coconut oil needs a little bit of time in the fridge to firm up again.
  7. Preheat the oven to 350 degrees F.
  8. Using a cookie scoop (and pack these in the scoop very tightly or they may crumble), scoop out balls of the dough onto a parchment lined cookie sheet. Press a few more chocolate chips in the tops if desired.
  9. Depending on the size, bake for 7-9 minutes or until very lightly browned around the edges. They may look a little underdone in the center, but they are the very best slightly under-baked and they will harden after cooling.
  10. Remove from the oven and allow to stay on the baking sheet for another 2 minutes before removing to a wire cooling rack.


My cookie scoop is about 1 inch in diameter. These firmly packed little balls turned into cookies about 1 1/2 inches in diameter. To make them fit into the 21 day fix program I allowed myself 3 of these little cookies for 1 yellow container and also a teaspoon of oil.

Wednesday, January 11, 2017

So long BUTTER.


I grew up in a family where butter was used in and on EVERYTHING! Literally. My dad uses a scoop of butter to spread on his toast. Butter is all I have ever known to scramble eggs in and when it comes to baking- holy BUTTER! I love butter, don't get me wrong, making this transition was not easy. Those of you reading this may already have made these changes but those of you still hanging onto that delicious, spreadable butter maybe this will help!

Here are some helpful alternatives to using butter:
1) Olive oil
uses: on bread or toast, roasting vegetables,  making eggs in the morning
2) Avocado oil
uses: scrambling or frying eggs, cooking meat
3) Coconut oil
uses: baking, frying pancakes or french toast, I don't personally cook with it unless it is something I don't mind the slight lingering coconut flavor to for example: I will use it when making fried rice or fried cauliflower rice or coconut crusted fish or shrimp *
4) Himalayan Sea Salt
uses: add a pinch to just about everything you are looking for that salty/savory flavor you would normally get from butter 
5) Salt free seasoning
uses: normally I would add butter for "more flavor" then I met this beautiful bottle of heaven and add it to just about everything!


*Be careful what you cook in coconut oil- I remember Dane, my husband, being a sweetheart and making me breakfast... he scrambled the eggs in COCONUT OIL and I just about vomited. I don't waste food and, well, those went straight into the trash. Sorry Dane. 


***If you truly can't live without some melted butter on toast, at least do yourself a favor and buy naturally cultured butter please. ***

Sunday, January 8, 2017

1/52

Back by popular demand... the 52 week photo challenge.

A portrait of my child once a week, every week for a year. Seen through my eyes.
Alex: My wild child.
Juna: Everything. In. Mouth. 

Thursday, January 5, 2017

Modernica Look-a-like DIY

Ok, I am not sure about you but I LOVE Modernica planters! 
They are sleek, modern and simple... and expensive. I could never bring myself to spend that much on a planter (I like to stick to terra cotta pots!) Well, today I stumbled upon these and a can of spray paint and voila! My own DIY Modernica inspired planter!

Monday, November 14, 2016

The Carlson's hit the road


We made it to Tahoe! We had the pleasure of taking a long weekend and staying at my Aunt and Uncle's cabin in Northstar. So beautiful! It was just what the doctor ordered. Hot cocoa next to the fire, no snow but still chilly. The air is just so fresh. Definitely something magical about Lake Tahoe.

Tuesday, November 8, 2016

Gluten Free Biscuit

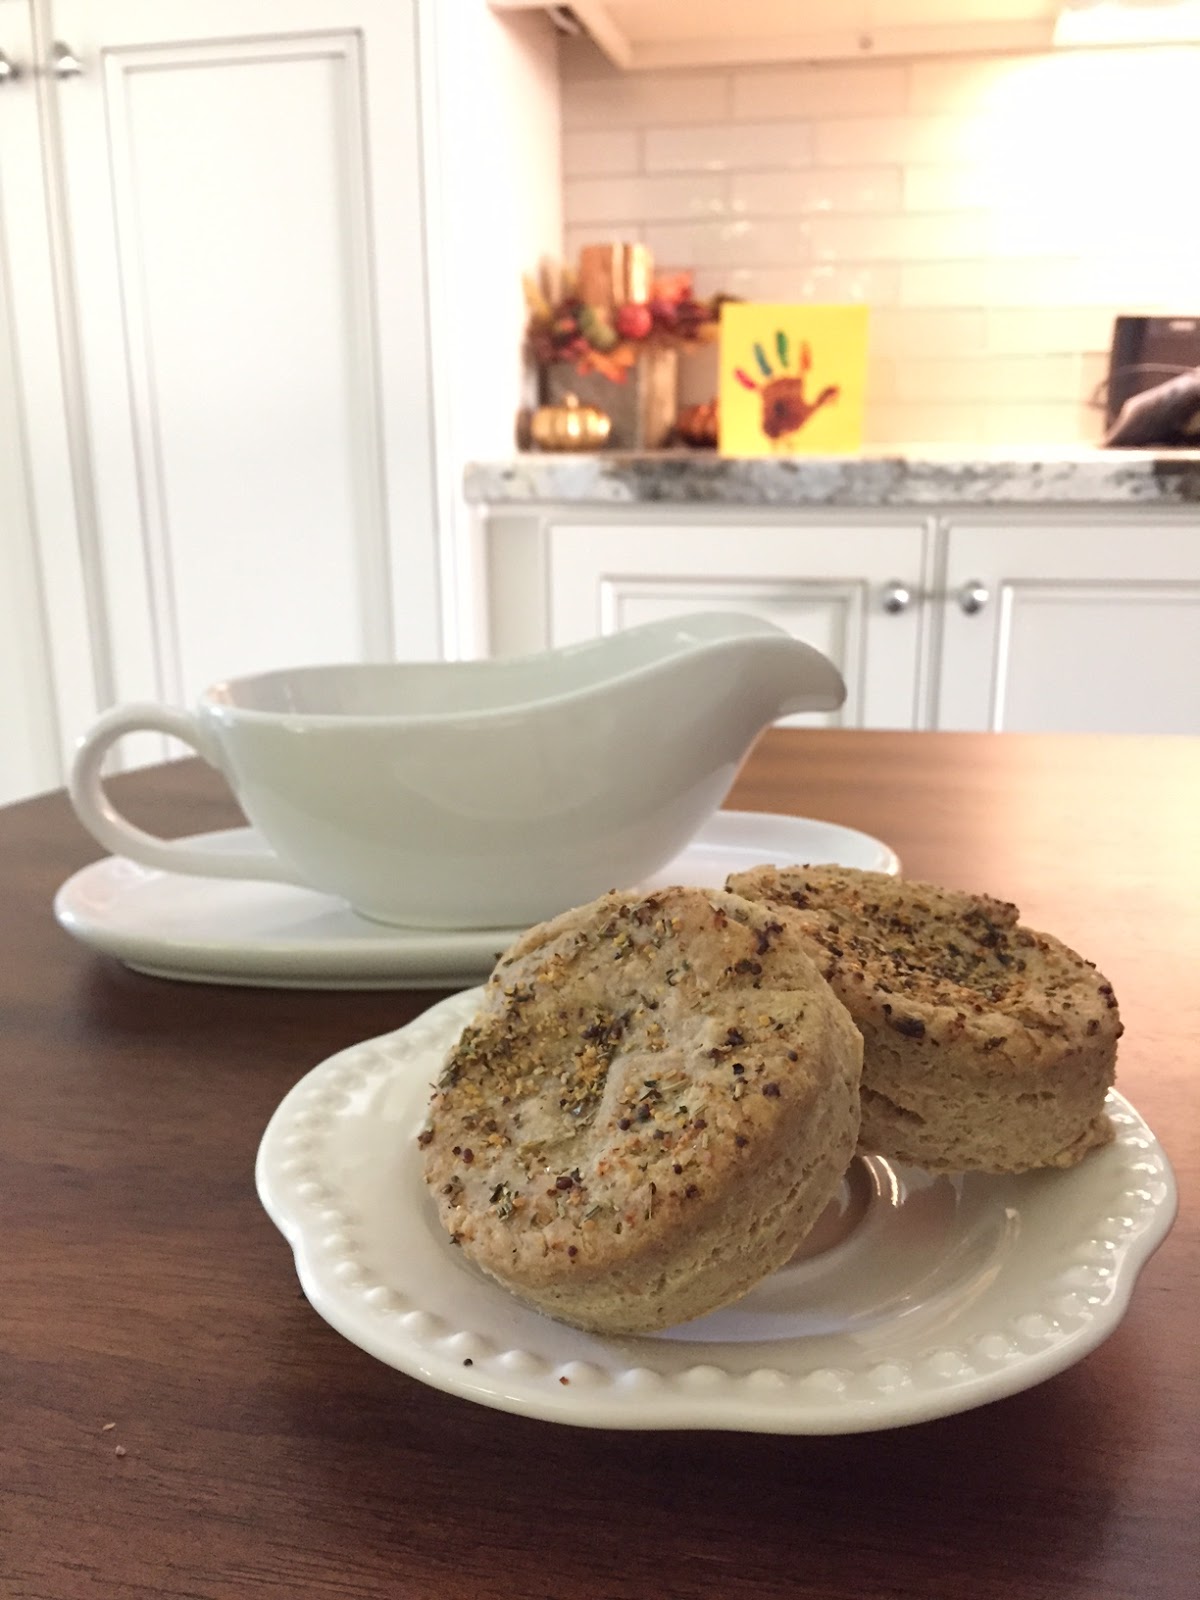
Alex made a turkey with her hand today and I made some holiday biscuits. I adapted this recipe from my favorite food blog The Minimalist Baker. They are gluten free. So good. And with a little warmed goat cheese as a spread, mmm!


Ingredients
  • 1 cup (240 ml) unsweetened PLAIN almond milk
  • 1 Tbsp (15 ml) fresh lemon juice
  • 2 cups (272 g) Flax and Ancient grain All Purpose Flour
  • 1 Tbsp (7 g) baking powder
  • 1/2 tsp baking soda
  • 3/4 tsp Himalayan sea salt
  • 4 Tbsp (56 g) non-dairy, unsalted butter (I use Earth Balance or Nutriva Shortening)
Instructions
  1. Preheat oven to 450 degrees F (232 C), and add lemon juice to almond milk to make "vegan buttermilk." Set aside.
  2. In a large mixing bowl, whisk together dry ingredients.
  3. Add cold butter and use fingers or a pastry cutter to combine the two until only small pieces remain and it looks like sand. Work quickly so the butter doesn’t get too warm.
  4. Make a well in the dry ingredients and, using a wooden spoon, stir gently while pouring in the almond milk mixture 1/4 cup at a time. You may not need all of it. Stir until just slightly combined – it will be sticky.
  5. Turn onto a lightly floured surface, dust the top with a bit of flour and then very gently turn the dough over on itself 5-6 times – hardly kneading.
  6. Form into a 1-inch thick disc, handling as little as possible.
  7. Use a 1-inch thick dough cutter or a similar-shape object with sharp edges (such as a cocktail shaker) and push straight down through the dough, then slightly twist. Repeat and place biscuits on a baking sheet in two rows, making sure they just touch – this will help them rise uniformly. Gently reform the dough and cut out one or two more biscuits – you should have 7-8.
  8. Next brush the tops with a bit more of melted non-dairy butter and gently press a small divot in the center using two fingers. I added my favorite seasoning blend to the top (https://www.savoryspiceshop.com/spice-blends/european-dry-rub-seasoning.html) This will also help them rise evenly, so the middle won’t form a dome.
  9. Bake in a 450 degree oven for 10-15 minutes or until fluffy and slightly golden brown. Serve immediately. Let remaining biscuits cool completely before storing them in an airtight container or bag.

Monday, October 24, 2016


It has taken me a very long time to realize how badly I needed to find a healthy routine. A routine that would turn into a lifestyle. I have been so out of it since having Juna. I am exhausted, I feel like crap because I am either eating things that are easy and I know I shouldn't (say quesadilla... when you are lactose intolerant, yikes!) or just simply not having the time to eat.

That was it.

I was not making time for myself. I take care of everyone else in my family and put myself last. It's a mothers job, right!? WRONG! I could not be more wrong. In these past 21 days I have watched my relationships with my husband and daughter improve because I feel good. Plain and simple. I FEEL GOOD. I have energy. I am not rushing to the nearest toilet because I upset my stomach yet again with something I ate. I am not scared to leave my house because, well, I might need to use the toilet soon. I have strength. I gained muscle and definition.

This program gave me all the essentials to jump start a healthy lifestyle shift for myself and my family. I am so grateful for that! I want to help anyone who is interested in learning more about the 21 day fix, it has changed my life so dramatically in just 3 short weeks. I seriously was such a skeptic before.... who knew!?

Monday, October 10, 2016

"Healthy" Brownies

If you are having a sweet craving, but don't want to give into it, these healthy brownies will do the trick. They are moist, sweet but not too sweet, and chocolatey! I try to make them as guilt free as possible!


Ingredients
1/3 cup Coconut Flour (or experiment with other Gluten Free Flour Substitute)
1/3 cup Cocoa Powder
1/3 cup Pure Pumpkin Puree
1/4 cup Coconut Oil
2 tsp Pure Vanilla
4 eggs
1/2 cup Pure Maple Syrup
¼ cup of dark chocolate morsels

Instructions
  1. Preheat oven to 350°F
  2. Combine coconut flour and cocoa powder
  3. Whisk in the pumpkin, coconut oil, eggs, maple syrup and vanilla extract. Blend well.
  4. Pour batter into a 9 x 9 greased pan.
  5. Sprinkle a handful of dark chocolate morsels on top before putting in the oven. Bake for 28-35 minutes, until toothpick comes out clean.
  6. Let cool completely before removing from pan

Saturday, August 13, 2016

Juna Eleanor

Welcome to the world sweet little one!
Juna Eleanor Carlson

Friday, April 29, 2016

Oh, hi!


I am not even going to try to give excuses as to why I haven't blogged in over a year but now that baby #2 is on the way I felt it very important to be able to share her growing with our family and friends that no longer live near us. So stay tuned...

P.S. This is me at 6 months pregnant!

Wednesday, February 11, 2015

My 1st Webitorial with Remark Magazine

I recently had my first fashion webitorial published!!!
Remark Magazine published my webitorial titled Rosé, the french word for pink, but some how got retitled Rosie... haha oh well! Either check out the link above or view some of the images here.


I had a really great team of ladies:
Julia Reeser was my stylist.
Kate Lewis was my model.
Ashley Hewett was in charge of hair.
Christina Lea was in charge of makeup.
And of course I took the photos!